COLLISION REPAIR
– NO DENT IS TOO BIG! –
If your vehicle has been damaged, you can trust our team of I-CAR Gold and ASE certified technicians to restore your vehicle back to like new condition in as little time as possible. As the only shop in Mitchell to receive these certifications, the team at Doug’s is proud to be constantly doing what it takes to maintain such a prestigious level of certification!
Certifications & Warranty
When it comes to collision repair, we take great pride in offering you service and experience that’s tough to beat! Since 1986, thousands of customers have come to rely on the area’s leading team of expert collision repair professionals here at Doug’s Custom Paint & Body Inc., where finishing touches make all the difference! Below are the 5 steps in returning your vehicle back to like new condition.
- Estimate
- Insurance Approval
- Disassemble & Order Parts
- Structure & Body Repair
- Refinishing
- Reassembly
- Detailing & Pre-Delivery
- Final Inspection
Stage 1: Estimate
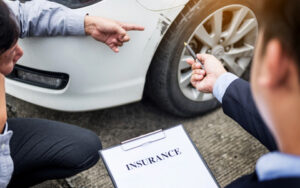
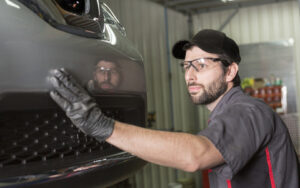
In the estimating process, the vehicle is inspected and relevant information is entered into the estimate computer systems. The results of the inspection are documented, photos of the vehicle are taken, and the information is passed on to the insurance company and/or provided to the customer. Keep in mind; these estimates are solely based on visible damage. Often, however there is hidden damage that cannot be seen until after disassembly. Not everything will be apparent to the estimator during the initial inspection.
Stage 2: Insurance Approval
Once the estimate is completed, the insurance company will review the estimate. The insurance company will determine if the vehicle is even repairable. Once this process is completed, the vehicle begins the actual repair process.
Stage 3: Disassemble & Order Parts
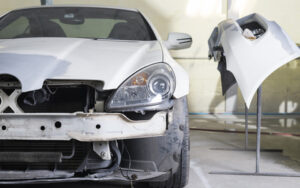
Disassembly of the vehicle begins to insure all damage is documented accurately and determine if the vehicle is economic to repair. Only after the customer and insurer provide authorization to repair the vehicle, all parts can be ordered as required for the repair. Keep in mind only the vehicle owner can give the final authorization for repairs. If no teardown is needed and the vehicle is drivable repairs can be scheduled and once all the necessary parts for repair are received, work can begin on repairing the vehicle.
Stage 4: Structure & Body Repair
At this stage the parts will have been received and the vehicle has been disassembled so the body shop can begin repairs to the vehicles structure, if needed. The car is analyzed by an electronic measuring system to restore it back to factory specifications. This insures that the car frame is straight and structurally sound. Suspension repairs and wheel alignment will now be done if needed. It’s important to complete all mechanical repairs in conjunction with structural repairs if possible. Once the car is structurally and mechanically sound the bodywork can now be completed, the vehicles body is straightened and prepared for paint.
Stage 5: Refinishing
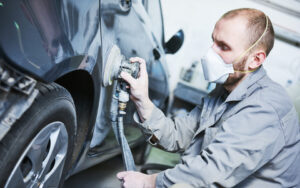
The vehicle is carefully prepped to ensure paintable surfaces provide proper adhesion and a smooth finish. Parts are sanded then primer is applied, now the color or base coat is applied, followed by a clear coat to protect the finish. After curing, the painted surfaces will be polished to a glossy finish.
Stage 6: Reassembly
All repairs and painting have been completed the vehicle is now ready to be reassembled. Any electrical wiring, hoses, airbag system components or other components that were disconnected to facilitate repairs, are now restored to their original location. Trim and moldings are reinstalled. A test drive will be done at this point to insure windows, doors, locks and electrical parts function correctly.
Stage 7: Detailing & Pre-Delivery
Once everything has been reinstalled in the correct place the car now gets a wash and thorough interior cleaning. The body paint is polished, surfaces cleaned and buffed. Again lights and safety components are checked before the journey from a car wreck nightmare to the showroom dream car comes full circle. In addition to a visual inspection, it’s important to also test drive to note any driving characteristics that may be associated with the repaired portions of the car. Once the car passes all tests it’s ready to be returned to the customer.
Stage 8: Final Inspection
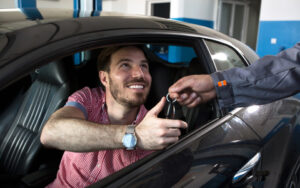
After all the finishing touches are made to the vehicle, the customer is called to pick up their vehicle. A representative will explain to the customer all the repair work that was done to their vehicle and go over the list of final expenses with the customer. The list includes an itemized list of all repairs made and parts used to complete the work. The customer will then do a post-repair inspection along with the shop representative before keys are turned over to the customer.

